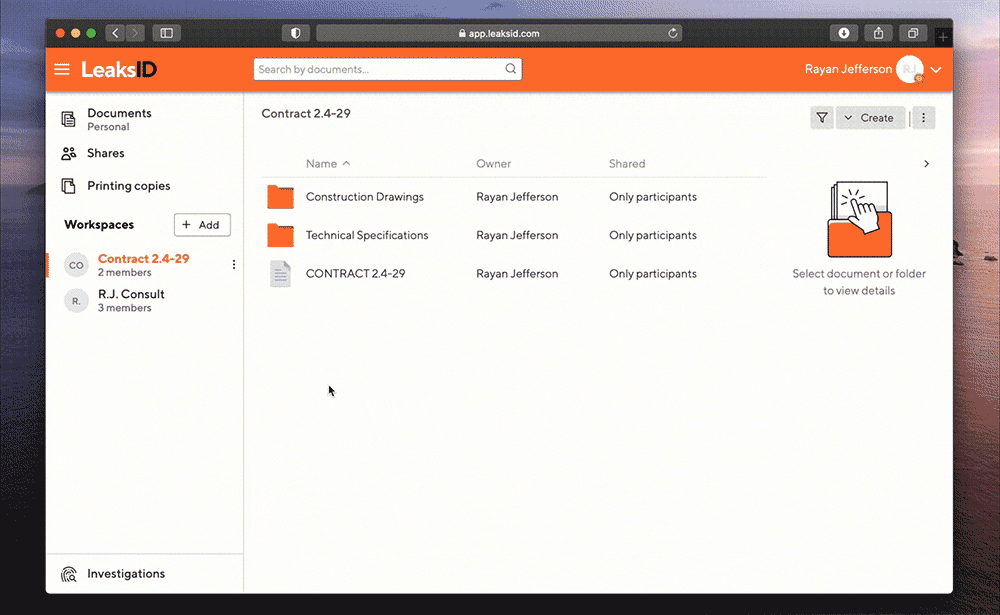
Ryan discovers a problem: someone with legal access to the document posted its photo on social media.
Ryan wants to find out who the leaker is. This is no longer just his problem, it’s a problem for the whole team.
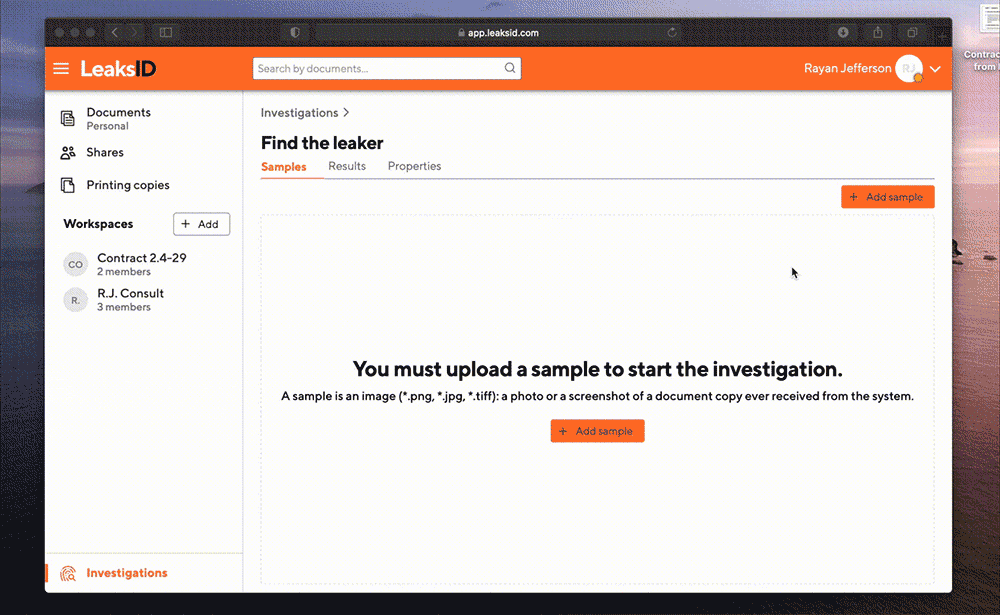
Start search for the leaker
Ryan logs into the system, enters the investigation section and creates a new investigation.
Upload a sample
Ryan takes a sample of the document from social media and uploads it to the system for investigation.
Even if the sample presented on social media is heavily distorted or the angle of inclination of the text is changed, it is not a problem. LeaksID has a built-in editor for re-adjusting samples.
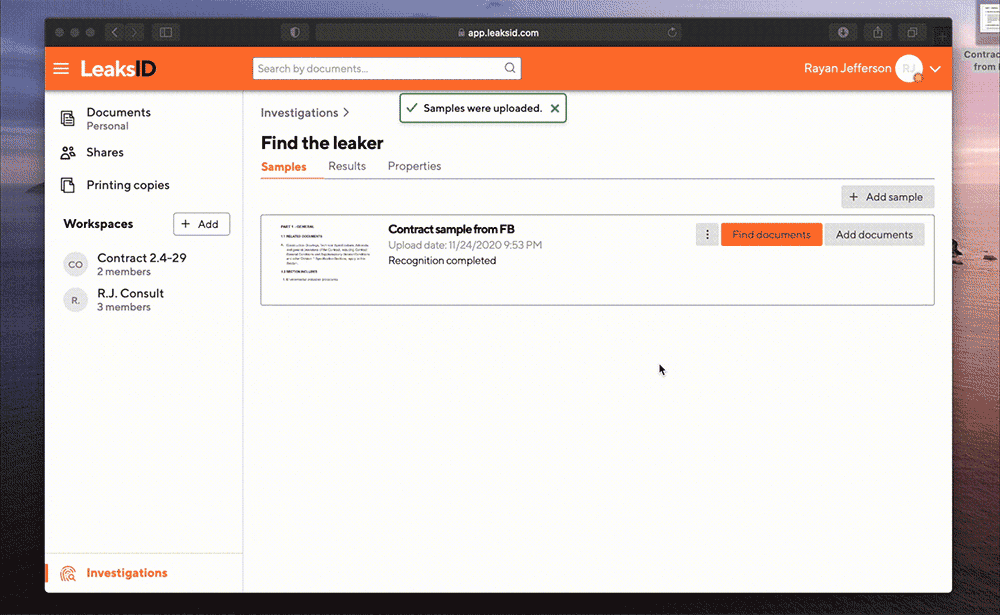
Find the original document
The system automatically detects the required document and the required page by the sample
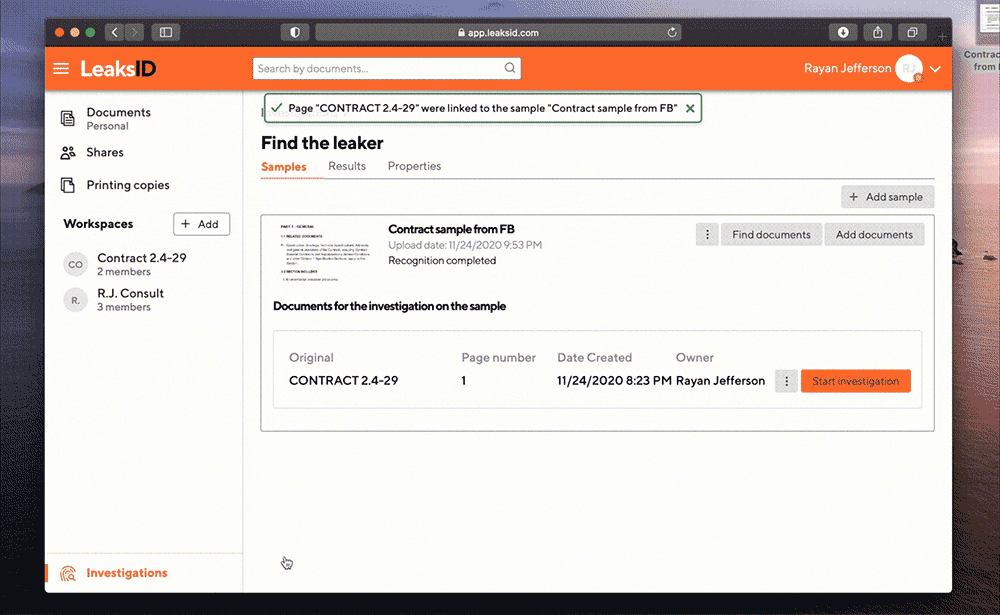
Ready to start
Ryan launches the investigation on this sample.
The examination is carried out automatically. For complex samples, advanced configuration of investigation parameters is available and the search can be carried out in manual mode.
The leaker is found!
Ryan gets the results of investigation and knows who is the leaker.
Mindset changes
Ryan shows the team how easily LeaksID can identify an intruder. Now, every team member knows that they won’t remain unidentified if the sensitive information is published. This stops the employees from sharing documents.
Fill out the form for a custom tour of our features by a product specialist to see how LeaksID can help you deter leaks and securely share your documents.
When you click the Submit button, you agree with our Privacy Policy